


Wiring a light bar to a toggle switch can seem like a daunting task, but it’s a simple process that can be accomplished with the right tools and proper know-how.
A LED light bar is an excellent addition to any vehicle, providing additional lighting for off-road adventures or as a work light.
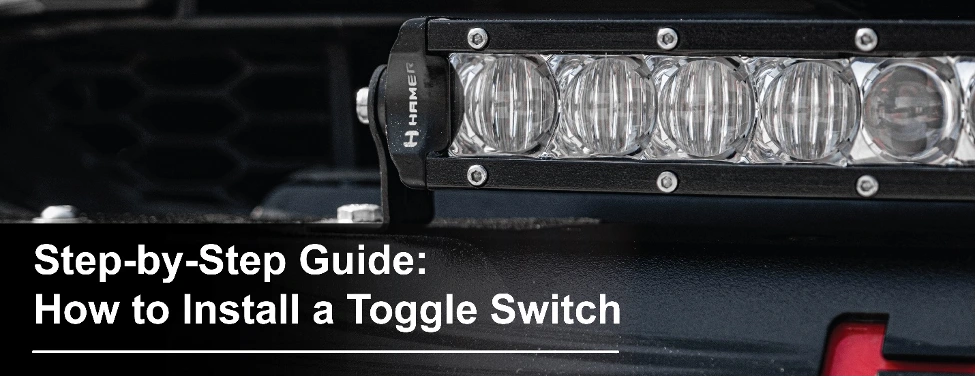
Utilizing a toggle switch offers many benefits. However, proper wiring and installation are crucial for safety and functionality. In this article, we’ll provide a detailed step-by-step guide on how to wire a light bar to a toggle switch for easy installation, it can be done by beginners!
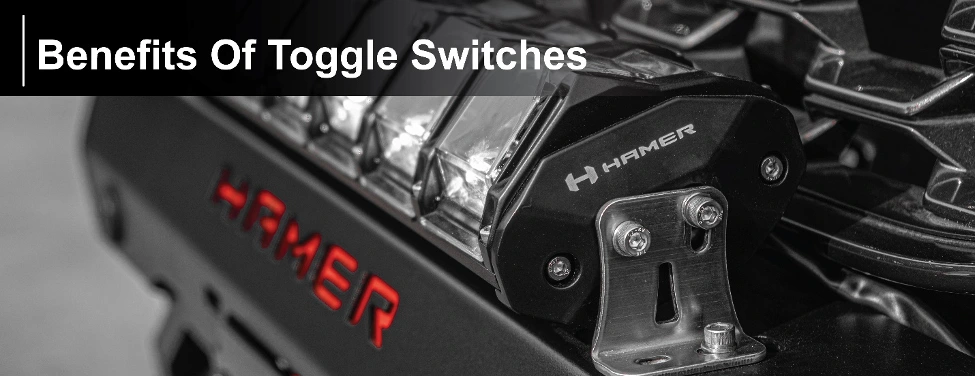
Before we dive into the installation process, let’s explore the benefits of using a toggle switch for your LED light bar:
A toggle switch is a simple on/off switch that can be easily operated with one hand. It provides tactile feedback when switching on or off, which makes it easy to use even in low-light conditions.
Toggle switches are known for their durability and reliability. They are designed to handle high current loads and withstand frequent use without wearing out or breaking.
Toggle switches are often more affordable than other types of switches, making them a cost-effective choice for controlling your LED light bars.
Toggle switches come in various sizes, shapes, and designs, making them a versatile option for different types of LED light bar. They can be mounted in various locations and orientations to suit your specific needs.
You can enhance efficiency and safety by using a toggle switch to operate your light bar, ensuring the LED lights are only on when needed. This helps prevent distractions, such as the potential hazard of blinding other drivers on the road.
Overall, a toggle switch can be an excellent option for controlling your light bar. It is easy to use, reliable, cost-effective, versatile, and can enhance safety.
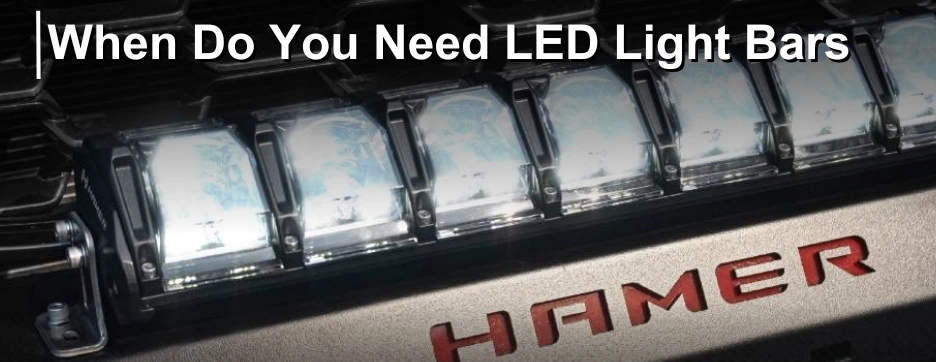
Light bars are a valuable addition to your 4×4 vehicle, offering enhanced visibility and safety in various situations. Here are some instances when you’ll find LED light bars essential for your off-road adventures:
When venturing into the great outdoors after the sun sets, LED lights become indispensable. They provide powerful illumination, ensuring you have a clear view of the terrain, obstacles, and potential hazards.
Whether you’re exploring trails, camping in remote locations, or navigating unfamiliar routes, the high quality LED light bars significantly improve visibility and make nighttime off-roading safer.
Even during the day, certain environments can pose visibility challenges. Thick forests, deep canyons, or shaded areas can limit natural light, making it difficult to see clearly. LED light bars overcome these obstacles by illuminating the surroundings with their bright beams, allowing you to navigate with confidence in low-light conditions.
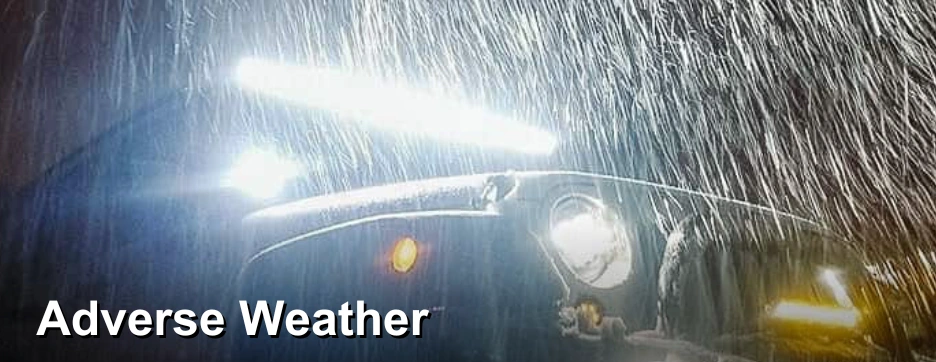
Inclement weather conditions like fog, heavy rain, or snow can severely impair visibility. Drive with the superior LED lights cut through these adverse weather elements, casting a focused beam that penetrates the fog or rain, or protect you from any other animal strike, and providing better visibility and reducing the risk of accidents.
Off-roading often takes you through challenging terrains, such as rocky trails, muddy paths, or steep inclines. These conditions require heightened visibility to maneuver safely. LED light bars offer a wider and more intense beam, helping you spot potential obstacles, uneven surfaces, and changes in terrain, allowing for better control of your 4×4 car.
LED light bars are crucial during emergency situations, such as vehicle breakdowns or when assistance is required in remote areas. They attract attention and provide ample light for repairs, signaling for help, or guiding rescuers to your location. LED light bars’ bright output and long-distance visibility can be lifesaving in critical moments.
LED light bars are not limited to off-roading adventures. They also come in handy for worksites, construction areas, or any situation that requires powerful, portable lighting. Whether you’re setting up camp, working on repairs, or engaging in outdoor activities, it offers ample illumination to ensure efficiency and safety.
Before starting the installation, gather all necessary supplies and tools. Ensure you have all the required items before proceeding to the next step.
LED light bar
Toggle switch (ensure it meets your requirements)
Wiring harness (compatible with your LED light bar and car)
Electrical tape
Zip ties
Wire strippers
Pliers
Screwdriver
Multimeter (optional, for testing connections)
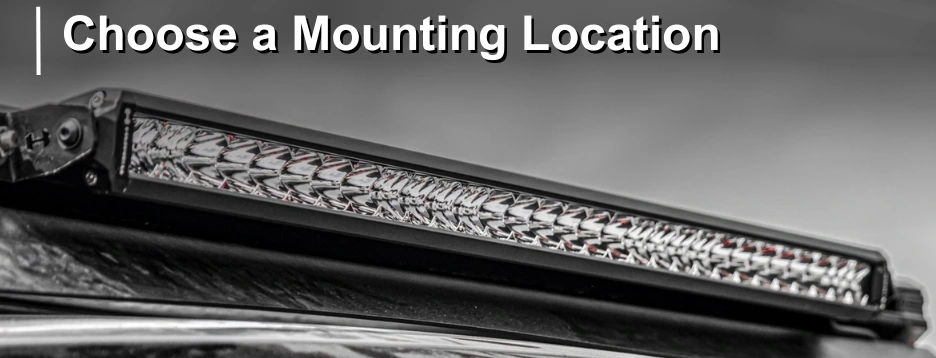
Choosing the right location to mount your LED light bars is crucial for your safety and functionality. Make sure to select a sturdy location that can support the weight:
A roof rack (Hamer has many roof racks that you can choose but to save on installation costs with Solar roof racks, which already have built-in LED lights.)
A roll bar
Hamer bull bar
M-series front bumper or Nudge bar
Ensure that the LED light bar doesn’t obstruct your view while driving and is in a position that provides maximum lighting.
Before drilling holes or mounting the light bar to the bull bar or the other 4×4 accessories, ensure you’re not interfering with any essential components of your 4×4 car, such as the radiator or the cooling system.
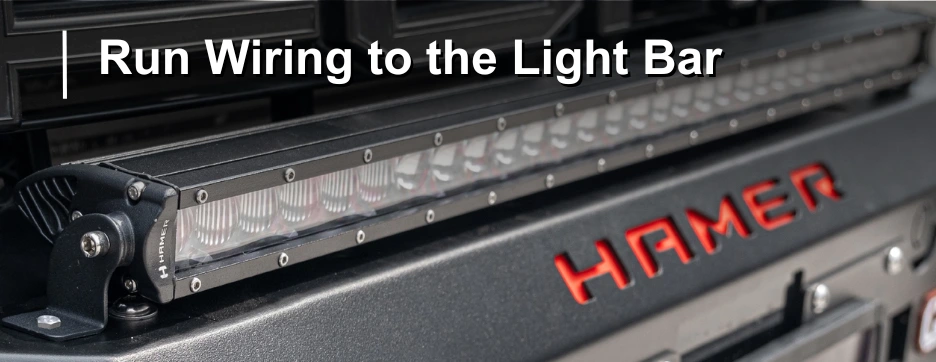
Running the wiring from the battery to the light bar location is an essential step. Use wire adequately rated for the light bar’s amperage, and ensure that the wiring is not kinked, damaged, or exposed to sharp edges or heat sources.
When running the wiring, be diligent to ensure the wires are well organized and secured with zip ties. Always double-check to ensure the wiring is away from moving parts or heat sources to prevent damage.
The next step is connecting the wiring from the light bar to the toggle switch. Strip the ends of the wires and twist them together. Use electrical tape to insulate the connection. If the toggle switch comes with a wiring diagram, follow it carefully. You can also use a multimeter to test the connection and ensure continuity between the wires.
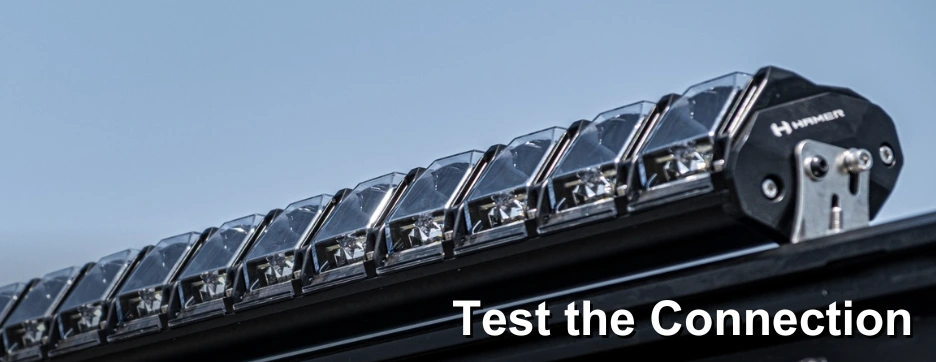
Testing the connection is crucial to ensure proper functionality. Use a multimeter to check for voltage and continuity. If the connection is working correctly, move on to the final step. If not, double-check the wiring and troubleshoot any issues.
Testing the connection is an essential step to avoid any electrical problems and hazards that can occur while driving.
Once you’ve confirmed that the wiring and toggle switch is working correctly, secure the wiring and toggle switch in your place of choice.
Use zip ties to keep the wiring organized and away from moving parts or heat sources.
Test the light bar again to ensure that it’s working correctly. Before starting your car, ensure that the wiring and switch are secured and organized correctly.
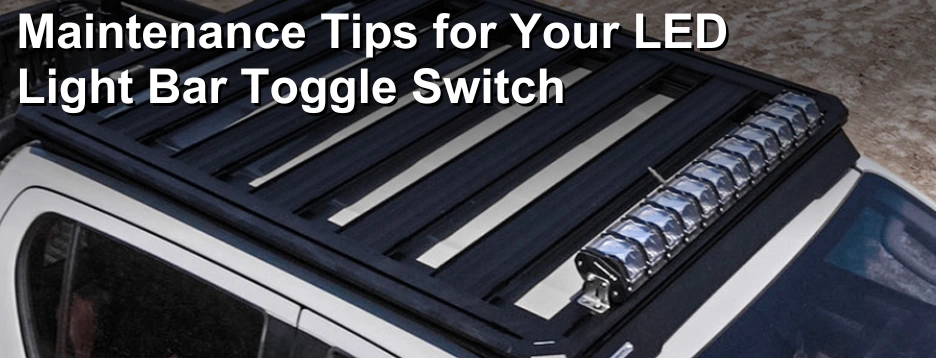
Maintaining your LED light bar toggle switch is essential for its longevity and optimal performance. By following these simple steps and utilizing the right products, you can ensure the continued functionality of your toggle switch:
Periodically inspect the toggle switch for any signs of damage, loose connections, or wear. Address any issues promptly to prevent further damage.
Keep the toggle switch clean from dirt, dust, and debris. Use a soft cloth or brush to gently remove any buildup that may affect its operation.
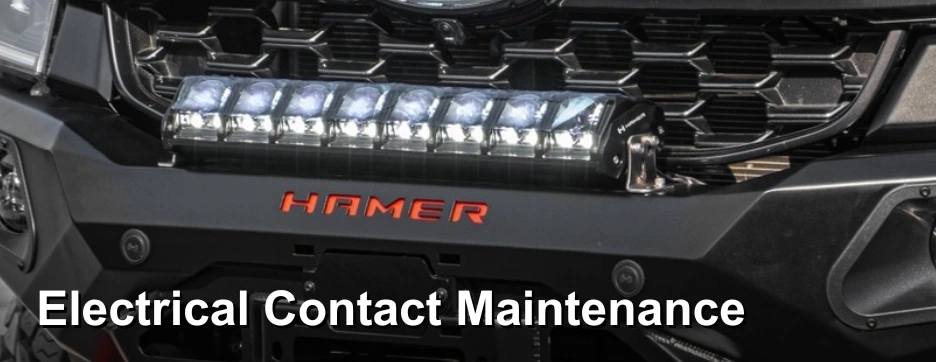
Ensure proper electrical contact by cleaning the switch terminals and wire connections. Use a contact cleaner or rubbing alcohol and a cotton swab for this purpose.
LED light bars are often exposed to moisture in off-road environments. To protect the toggle switch from water damage, consider using a waterproof switch cover or protective casing.
Handle the toggle switch with care and avoid applying excessive force during operation. This will help prevent damage to internal components and ensure smooth functioning.
Regularly inspect the wiring harness for any signs of wear, fraying, or loose connections. Repair or replace damaged wiring to maintain a secure and reliable electrical connection.
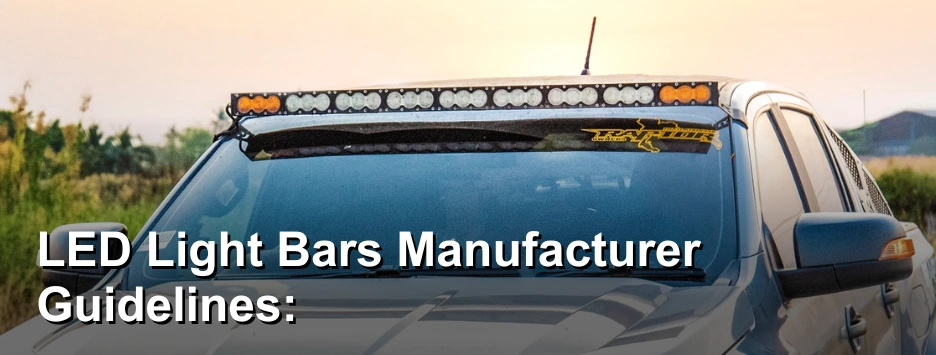
Follow the manufacturer’s guidelines for maintenance and care. These instructions are specific to your LED light bar toggle switch model and will ensure proper maintenance practices.
Wiring a light bar to a toggle switch may seem daunting, but it’s a simple process that can be accomplished with the right tools and supplies. Following the step-by-step instructions is crucial to ensure a safe and functional light bar installation. Remember to test the connection and troubleshoot any issues that may arise.
With proper maintenance, your light bar and toggle switch can provide reliable and effective lighting for years to come. For more inside tips and promotions, follow Hamer4x4 on Facebook.
สร้างบัญชีกับเราแล้วคุณจะสามารถ:


