


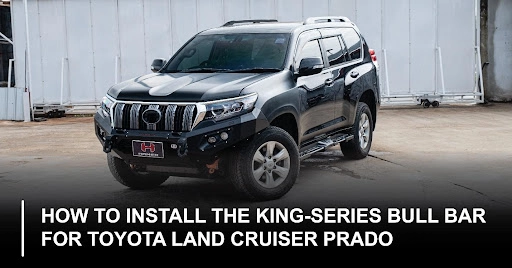
Welcome aboard, mate! If you’re here, you’re searching for a detailed guide on installing the Hamer King-Series Bull Bar AM106 on your Toyota Land Cruiser Prado (2010-2013).
Well, you’re in luck! Buckle up as we take you through the installation process, offering you a step-by-step manual to get that bull bar fitted like a pro.

Before you begin installing the Hamer Bull Bars, make sure you have the following tools and equipment readily available:
Socket set
Wrenches
Screwdrivers (Flathead and Phillips)
Torque wrench
Protective gloves
Safety glasses
Safety should always be the top priority when installing the Bull Bar on your Toyota Land Cruiser Prado. Follow these essential safety precautions:
Protective Gear: Wear safety goggles and gloves to protect your eyes and hands during the installation process.
Stable Surface: Ensure the vehicle is parked on a flat and stable surface to prevent any accidental movement.
Remember, safety is not just a slogan; it’s a way of life.
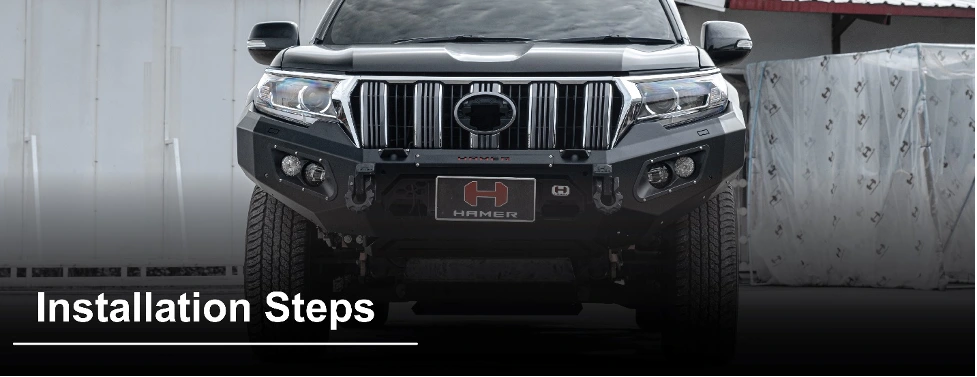
Begin by opening the hood and removing any plastic covers or clips that may obstruct the installation process. Keep these parts safe, as you will need to reinstall them later.
To remove the front bumper or additional lights eg: fog lights, Fog lamps if have, locate the mounting bolts and clips. Using the appropriate socket wrench, remove the bolts that hold the bumper in place. You may also need to remove some clips using the flathead screwdriver. Carefully remove the bumper and set it aside.
Before attaching the bull bar to your vehicle, you must assemble it according to the manufacturer’s instructions. This may involve attaching brackets, winch plates, or other accessories to the bull bar. Be sure to follow the instructions carefully to ensure proper assembly.
Now that the bull bar is assembled, it’s time to attach it to your Land Cruiser Prado.
Position the bull bar in front of the vehicle, aligning the mounting brackets with the bumper mounting points.
Secure the bull bar using the supplied hardware, ensuring not to over-tighten the bolts. Use a torque wrench to ensure proper torque specifications are met.
Once the bull bar is securely attached, make any necessary adjustments to ensure it is level and properly aligned with the vehicle’s body.
Reattach any plastic covers or clips that were removed earlier. Reconnect the negative battery terminal and double-check all electrical connections, such as LED lights, fog lights, indicators, daytime running lights, or winch controls, to ensure they are functioning correctly.
Finally, give the Hamer bull bar a thorough inspection to confirm that it is securely fastened and properly aligned.
Ensure a smooth installation process with these troubleshooting tips:
Tighten Fasteners: Periodically check and tighten all fasteners to maintain stability and integrity.
Verify Alignment: Ensure the bull bar is properly aligned with the vehicle’s front end for a precise fit.
Check Clearance: Avoid interference issues by verifying sufficient clearance between the bull bar and other components.
Address Noise or Rattling: Eliminate excessive noise or rattling by securing any loose components.
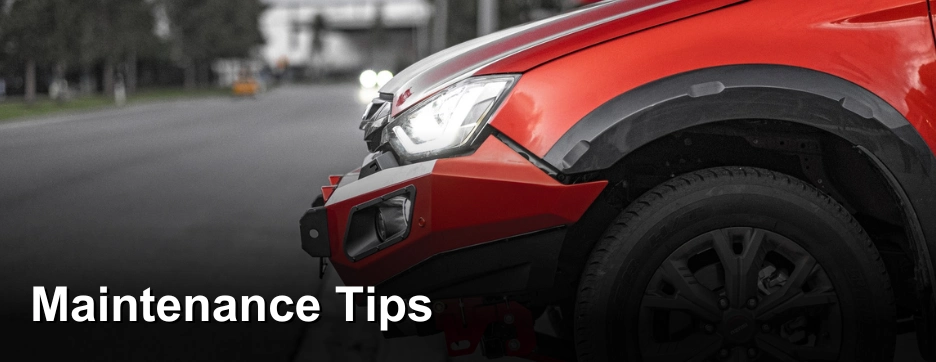
Maximize the longevity and performance of your Hamer Bull Bar with these maintenance tips:
Regular Cleaning: Remove dirt and grime with a mild soap solution and a soft cloth or sponge.
Prevent Rust: Apply a rust inhibitor or protective coating, especially in harsh weather or salty environments.
Inspect for Damage: Check for dents, scratches, or paint chips and address them promptly.
Lubrication: Keep moving parts well-lubricated for smooth operation and to prevent rust or corrosion.
Professional Inspection: Periodically have a professional inspect the bull bar for any potential issues.
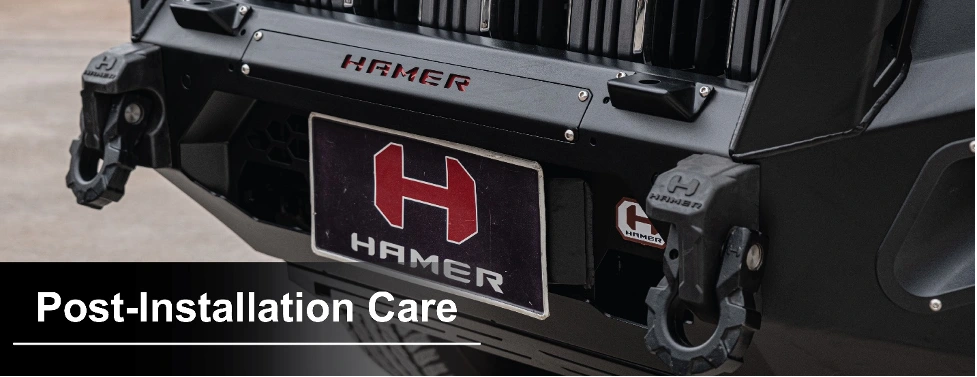
After successfully installing your King-Series Bull Bar, it isn’t time to rest on your laurels just yet.
Let’s get down to brass tacks and discuss the post-installation care for your new equipment.
Keep an eagle eye out for any abnormalities. Check for proper alignment and ensure all screws are tightened.
Your bull bar isn’t afraid of a bit of dirt, but that doesn’t mean it should be left filthy. Regularly give it a good wash to keep it looking spick and span.
Frequent checks for loose screws or rust can nip potential problems in the bud.
While this manual aims to make the installation process as smooth as silk, sometimes you might find yourself in a pickle. Here are a few situations where it’d be best to swallow your pride and seek professional help:
If the bull bar still needs to be aligned despite your best efforts, it might be time to call in the cavalry.
Loose screws that keep coming back can indicate a deeper issue. Stay calm; seek professional help.
If rust has spread considerably, it’s time to let the pros handle it.
To wrap things up, here are a few handy tips and tricks to help you along your installation journey:
Like Rome, a perfectly installed bull bar isn’t built in a day. Take your time, and don’t rush the process.
If a part isn’t fitting, don’t try to force it. Recheck your steps instead.
Maintain the cleanliness of the bull bar to keep it looking brand new for years.
If you’re unsure about something, it’s always better to ask for help rather than risk damaging your vehicle.
With the right tools and a hearty dose of patience, you’re more than capable of performing the installation yourself.
Remember, slow and steady wins the race. Take your time, follow the instructions carefully, and your vehicle will look sharp and rugged in no time.
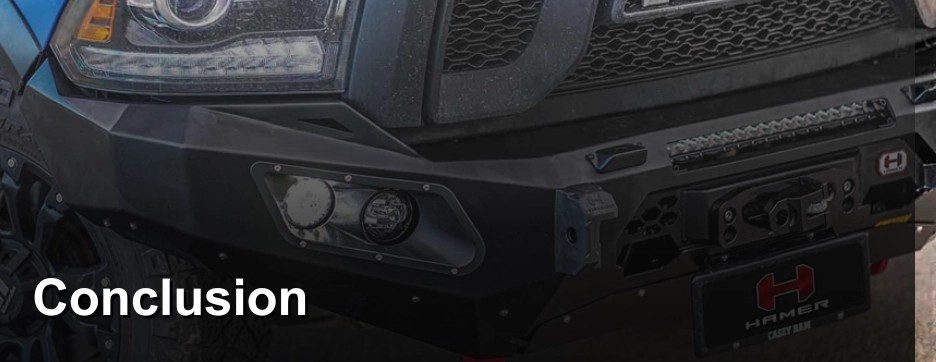
Installing the Hamer King-Series Bull Bar AM106 on your Toyota Land Cruiser Prado is more than just an upgrade; it’s a statement. Keep your eyes on our Hamer blogs, we will continue the blog about the installation of 4×4 accessories for ford ranger px2 px3, Mitsubishi pajero sport qf, Toyota Hilux, Nissan Navara, Ford Ranger Raptor, and more
A statement of style, rugged charm, and your commitment to maintaining your vehicle. So, what are you waiting for? Roll up your sleeves, follow this guide, and transform your ride today! For more inside tips and promotions, follow Hamer4x4 on Facebook
สร้างบัญชีกับเราแล้วคุณจะสามารถ:


